Canvas and Drawing — Your First Graphics
Start drawing shapes, sprites, and animations using the HTML5 Canvas API. We’ll keep it simple and visual.


Getting Started with Canvas
The HTML5 Canvas is your blank slate. It’s a drawing surface inside your browser where you can create anything — from simple rectangles to complex animated characters. You’re not limited to pre-made shapes or UI elements. You control every pixel.
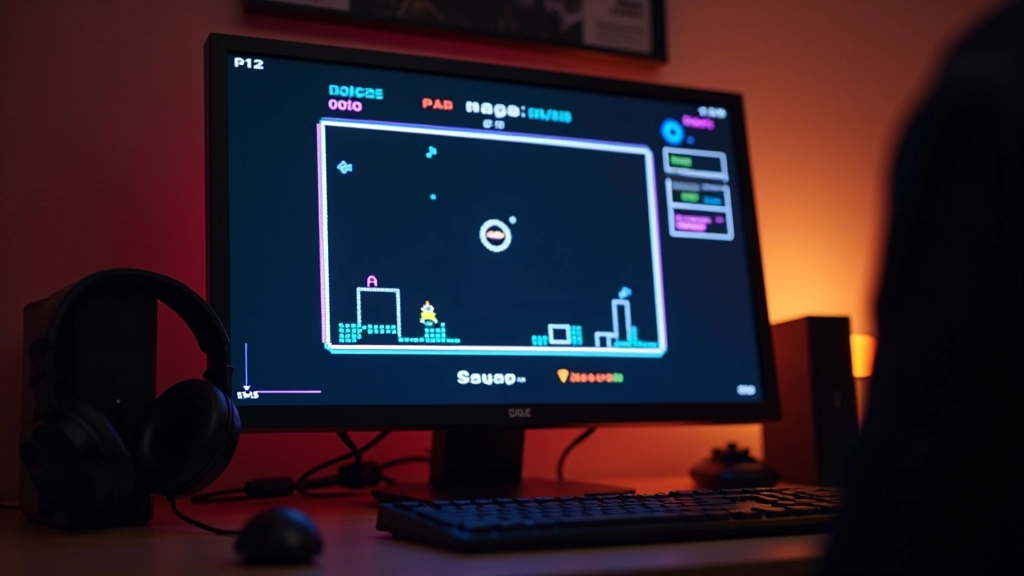
What makes canvas powerful? It’s fast. Really fast. Because you’re drawing directly to a bitmap, not creating DOM elements, you can animate thousands of objects without your browser melting. That’s why games use it.

Drawing Basic Shapes
Before you animate anything, you need to draw. Canvas gives you a context object — it’s the tool that does the drawing. You access it like this:
const ctx = canvas.getContext('2d')
. That 2d? It means 2D drawing. (There’s also WebGL for 3D, but that’s another story.)
The Essential Methods
- fillRect(x, y, width, height) — solid rectangle
- strokeRect(x, y, width, height) — rectangle outline
- fillStyle / strokeStyle — set colors before drawing
- clearRect(x, y, width, height) — erase an area
Most of your game will be built with rectangles. Don’t underestimate them. A character sprite is just a rectangle. A bullet? Rectangle. Platforms? Rectangles. You’ll use fillRect more than any other drawing method.
Setting color is straightforward. You set fillStyle to any CSS color — hex, rgb, named colors — then call fillRect. Everything drawn after that uses that color until you change it.
Animation Through Clearing and Redrawing
Here’s the trick that makes canvas animation work: you clear the entire canvas, then redraw everything in its new position. Fifty times per second. It looks like smooth movement because our eyes blend the frames together.
Clear the Canvas
clearRect(0, 0, width, height) wipes everything away
Update Positions
Move your objects based on velocity or input
Redraw Everything
Draw all objects at their new positions
This happens inside your game loop. Every frame, you’re clearing, updating, and drawing. It sounds expensive, but it’s not. Canvas is optimized for exactly this pattern. You’ll typically get 60 frames per second without breaking a sweat.
Working with Sprites and Images
Rectangles are great for prototyping. But games use sprite sheets — image files packed with multiple frames or character poses. You’re drawing parts of an image onto the canvas, not the whole image.
drawImage() is your sprite tool. It can draw an entire image, or a rectangular section of it. This is how you show animation frames, character art, and backgrounds without creating separate image files for every single pose.
Your sprite sheet is typically organized in a grid. A walking animation might have 8 frames in a row, each 3232 pixels. You calculate which frame to show based on elapsed time, then draw just that rectangle from the image. The result? Smooth character animation with minimal file size.
Performance note: images are cached in memory once loaded. Drawing from the same sprite sheet multiple times is incredibly cheap. This is why professional games pack everything into sprite sheets rather than using separate image files.

Coordinates and Positioning
Canvas uses a coordinate system that feels natural once you get used to it. The origin (0, 0) is at the top-left corner. X increases rightward. Y increases downward. This is different from traditional math graphs, but it matches how screens work.
When you draw a rectangle at fillRect(100, 50, 32, 32), you’re drawing a 3232 pixel square starting 100 pixels from the left and 50 pixels from the top. The coordinates represent the top-left corner of whatever you’re drawing.
Why This Matters
Your game objects need positions. Each sprite has x and y coordinates. When you move a character right, you increase its x value. When gravity pulls down, you increase y. You update these values in your game loop, then draw each object at its current position. It’s that simple.
Collisions become easier with this system too. Two rectangles overlap when their x and y ranges intersect. You’ll use this constantly in game development.
You’re Ready to Draw
Canvas isn’t complicated. You’ve got a few core methods: fillRect for solid shapes, clearRect for erasing, drawImage for sprites. Combine them in your game loop — clear, update, draw — and you’ve got animation. Add keyboard input and you’ve got gameplay.
The next step? Learn about the game loop itself. That’s where the magic happens. It’s the heartbeat that keeps your game alive, running 60 times per second, pulling all these pieces together into something playable.
Start with simple rectangles. Get comfortable with positioning and clearing. Then add sprites. Don’t jump to complex graphics immediately — the fundamentals you’re building now are the foundation for everything else.
Educational Note
This guide is educational material designed to help you understand HTML5 Canvas concepts and drawing fundamentals. Browser capabilities and Canvas API behavior may vary across different browsers and devices. Always test your code in your target browsers and consider performance implications when working with complex graphics or large numbers of animated objects.
Continue Your Learning