Game Loop Fundamentals for Web
Understand how the game loop works and why it’s the heartbeat of every interactive game.
Read MoreCombine everything you’ve learned into a small but fully functional game. Start with Pong, Breakout, or a simple shooter and ship your first project.

You’ve learned about the game loop. You understand how to draw with Canvas. You know collision detection. Now it’s time to put it all together into something people can actually play.
This isn’t about building the next AAA blockbuster. It’s about finishing something. A complete, playable game — even if it’s simple — teaches you more than months of isolated exercises. You’ll hit problems you never anticipated. You’ll discover solutions you didn’t know existed.
Three games work brilliantly as first projects. They’re not too simple, not too hard. Just right.
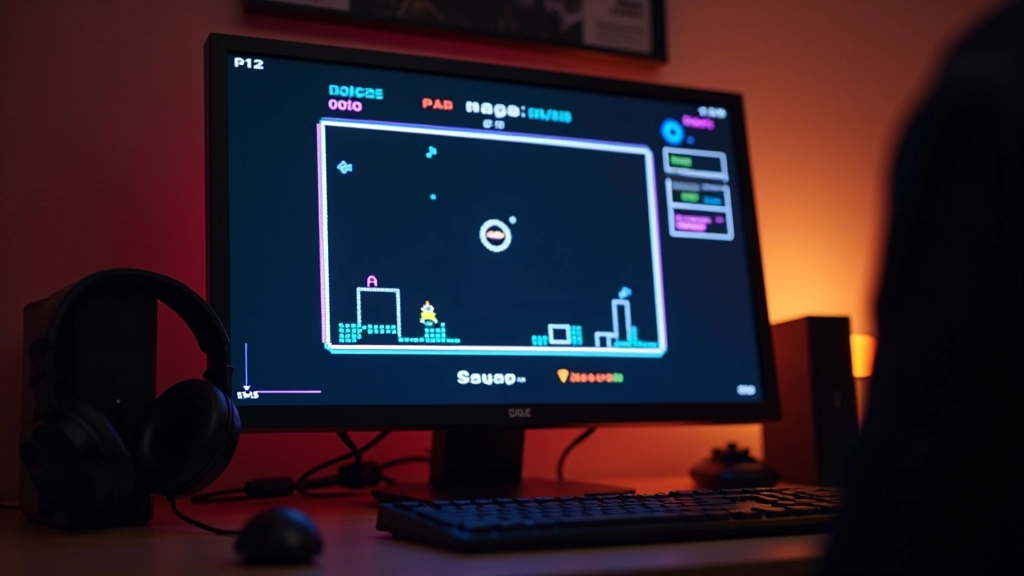
Two paddles, one ball, simple physics. You’ll learn movement, collision, scoring. Pong teaches the fundamentals without overwhelming you with features.
Ball bounces, bricks break, score climbs. More visual complexity than Pong, but the core mechanics are still manageable. Great for learning grid-based collision.
Player ship, enemies, bullets. You’ll handle spawning, waves, and enemy AI. Feels more like a “real game” but stays focused on core systems.

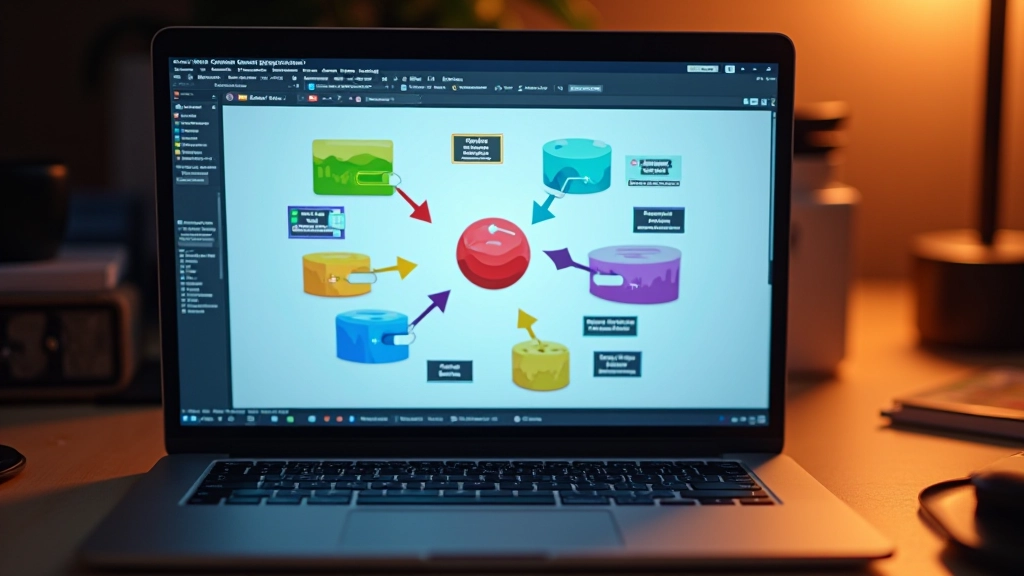
Track everything that matters: player position, enemy positions, score, lives, game status (playing/paused/game-over). Most bugs come from state getting out of sync. Keep it organized from day one.
Every frame, update positions based on input and physics. Check collisions. Update score. This happens 60 times per second. Performance matters here — even small inefficiencies multiply.
Clear the canvas. Draw everything based on current state. Players only see what gets rendered. If it’s not on screen, it doesn’t exist to them.
Your game code should follow a pattern. It doesn’t need to be complex. Simple beats clever.
Set up the canvas, load assets, create your game objects, set initial state. This runs once when the page loads.
Listen for keyboard or mouse events. Update player input state. Don’t execute movement directly — just record what the player is trying to do.
Move objects based on input. Apply physics. Check collisions. Update scores. Everything happens here based on current state.
Clear the canvas. Draw all game objects. Draw UI elements like score and lives. This visual output is what players experience.
Steps 2-4 repeat every frame. That’s your game loop. Solid, predictable, easy to debug.
Draw rectangles around collision boxes. Display object positions on screen. Print game state to console. Don’t guess — see what’s actually happening.
Use browser DevTools to check frame rate. Target 60 FPS. Don’t add complex features before optimizing. It’s easier to build fast from the start.
Use Git. Save working versions before big changes. You’ll break things — knowing you can revert is powerful.
Get feedback from day one. Is it fun? Is it frustrating? What breaks? Players find issues you’d never discover alone.
Every developer gets this wrong at first. You start with a simple idea. Then you think “what if we added power-ups?” Then enemies with AI. Then multiple levels. Then a story.
Suddenly you’re three months in and nowhere near done. Burnout sets in. The project dies.
Here’s what works: Define minimum viable game. What’s the absolute smallest version that’s still fun? Build that. Ship it. Then expand.
For Pong: Two paddles, one ball, collision, scoring. That’s it. No AI opponents, no power-ups, no fancy graphics. Just the core game.
You’ll finish it in 2-3 weeks. You’ll feel amazing. You’ll learn more from shipping a small game than dreaming about a big one.
You’ve got the knowledge. You understand the game loop. You know Canvas. You can detect collisions. The only thing left is to actually build something.
Pick one of those three games. Spend a few hours on architecture. Then start coding. You’ll hit problems. Google them. Debug them. Fix them. That’s game development.
The difference between people who make games and people who talk about making games? The first group ships something. Even if it’s small. Even if it’s rough. They finish.
That’s your next step. Not learning more. Building more.
This guide is informational and educational. Game development involves learning through experimentation and iteration. Results vary based on your effort, prior experience, and learning style. Code examples and techniques shown are meant to teach concepts — always test thoroughly and adapt approaches to your specific project needs. For advanced topics, consult official HTML5 and Canvas API documentation.